Loading...
Searching...
No Matches
IPConfigure
IPConfigure is meant to allow the configuration of the network behaviour of GigE Vision™ compliant devices. With IPConfigure it is possible
- to assign a user defined name to a GigE Vision™ compliant device
- to change its IP address behaviour
- to find and fix incorrectly configured (e.g. wrong IP address) GigE Vision™ compliant devices
- Note
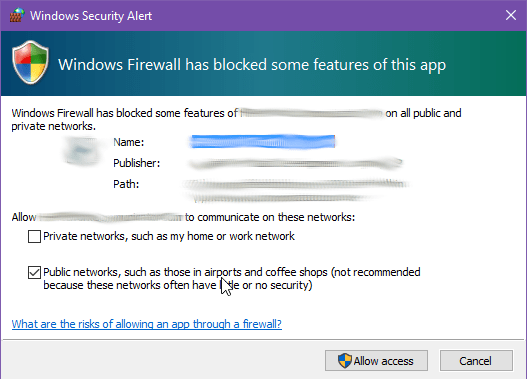
- Windows®: Given that during the start IPConfigure searches the network for GigE Vision™ devices, it could be possible that - depending on the Windows® firewall settings - a Windows® security alert appears. Please click on "Unblock" or "Allow Access" depending on the version of Windows® you are working with so that the program works properly. Windows® security alert
- macOS: The app
IPConfigure.appin"~/ImpactAcquire/bin"does not use the correct environment, so a double-click on the app will not find any GigE Vision™ devices. To startIPConfigurewith the correct environment, start the shell scriptstartIPConfigure.shin"~/ImpactAcquire".
- Windows®: Given that during the start IPConfigure searches the network for GigE Vision™ devices, it could be possible that - depending on the Windows® firewall settings - a Windows® security alert appears. Please click on "Unblock" or "Allow Access" depending on the version of Windows® you are working with so that the program works properly.
Pressing F1 will also display a detailed list of available Command-line Interface options as well as keyboard shortcuts and some other useful information!
- GigE Vision™ Device Boot Behaviour
- Configure a GigE Vision™ Device
- Viewing The Current Network Topology
- Recover an Incorrectly Configured GigE Vision™ Device
- Assign a Temporary IPv4 Address
- View Potential Performance Issues
- Various Auto-Configuration Options
- Detecting Devices Residing in a Different Subnet
- Command-line Interface