General
| CPU | Arm Cortex-A78AE v8.2 @ 2.2GHz |
| Cores | 12 |
| RAM | 32GB |
| USB2.0 Interfaces | 4 |
| USB3.2 Interfaces | 3 |
| Ethernet | 1x1 GbE + 1x10 GbE |
| PCIe | 2x8 + 1x4 + 2x1 Gen 4.0 |
- Note
- The above table describes the specification of the NVIDIA Jetson™ AGX Orin Developer Kit.
-
The following tests were conducted on JetPack 5.0.2 with power mode
MAXN.
Test Setup

- Note
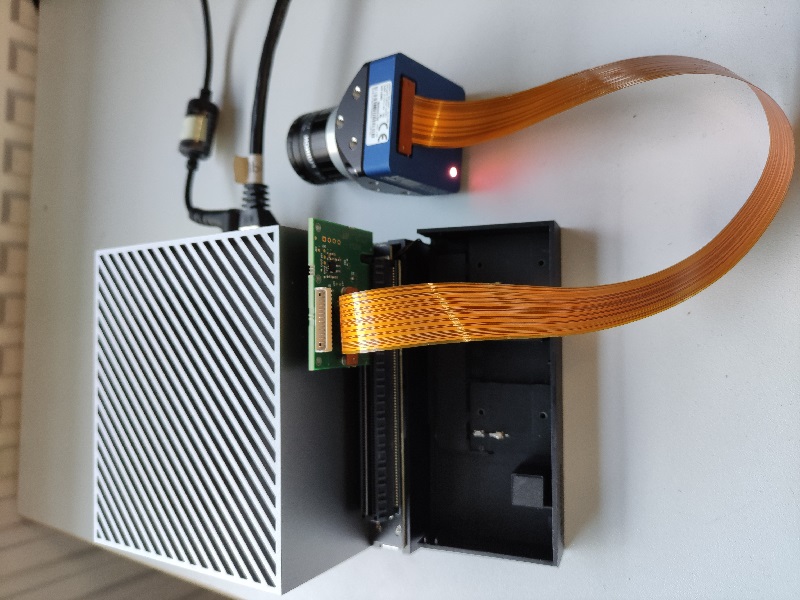
- The BVS CA-BN device uses 4-lane PCIe 2.0 on the NVIDIA Jetson™ AGX Orin.
Additional Settings
Set EMC clocks to Maximum
It is important to set the EMC clock to maximum to ensure reliable data transmission. To do so, call jetson_clocks with sudo credentials via CLI:
$ sudo jetson_clocks
- Note
- The above command line works only temporarily. The clock will be reset after the next system boot. A systemd service can be used to run the command line permanently at every system boot.
Notes about PCIe credits and user-supplied buffers
PCIe credits are used for flow control of data to and from devices that are connected to the PCIe bus. When sending data, if all credits are used up by a device it will have to wait until new credits are made available by the host. Since PCIe cameras rely on streaming image data as quickly as possible into the host's memory, forcing a camera to wait may sometimes result in frames being lost. NVIDIA Jetson™ Orin platforms appear to advertise less initial PCIe credits than previous NVIDIA Jetson™ modules, such as Jetson™ Xavier, and therefore are more likely to show lost frames under some circumstances.
In order to reduce the risk of lost frames on Orin platforms, Impact Acquire tries to avoid performing time-costly operations, such as mapping and unmapping DMA buffers, whilst image data is being streamed. By using a known pool of internal buffers, together with the DSAnnounceBuffer and DSRevokeBuffer data stream functions described in the GenICam GenTL standard, it can map them once, before acquisition, and unmap them when they are no longer needed and after acquisition has stopped.
This optimization, introduced in Impact Acquire v3.5.0, also works with user-supplied buffers, as long as the user-application also continuously reuses buffers e.g. from a pool. The example 'CaptureToUserMemory.cpp', described in the Impact Acquire API C++ manual, illustrates various ways of using internal and user-supplied buffers.
It is possible to use Impact Acquire with user-supplied buffers that are allocated, used just once and then freed again ('CaptureToUserMemory.cpp' also illustrates this usage). But when buffers are used in this way the internal optimization cannot be applied because each new buffer is unknown and must be mapped and unmapped during streaming. In this case it is possible that Jetson™ Orin platforms will indicate lost frames for certain camera setups even if the same configuration works correctly on Jetson™ Xavier platforms. If you see this behaviour and need user-supplied buffers in your application, you are advised to implement a pool of user-supplied buffers to do this. In this way Impact Acquire works more efficiently and it will automatically help to prevent frames being lost, particularly on Jetson™ Orin platforms. Again, the 'CaptureToUserMemory.cpp' example shows you how to do this.
Benchmarks
The following tests have been performed using different de-Bayering scenarios to achieve the max. FPS while maintaining 0 lost images. The CPU load during the acquisition is also documented below.
Scenarios that have been tested are listed as follows:
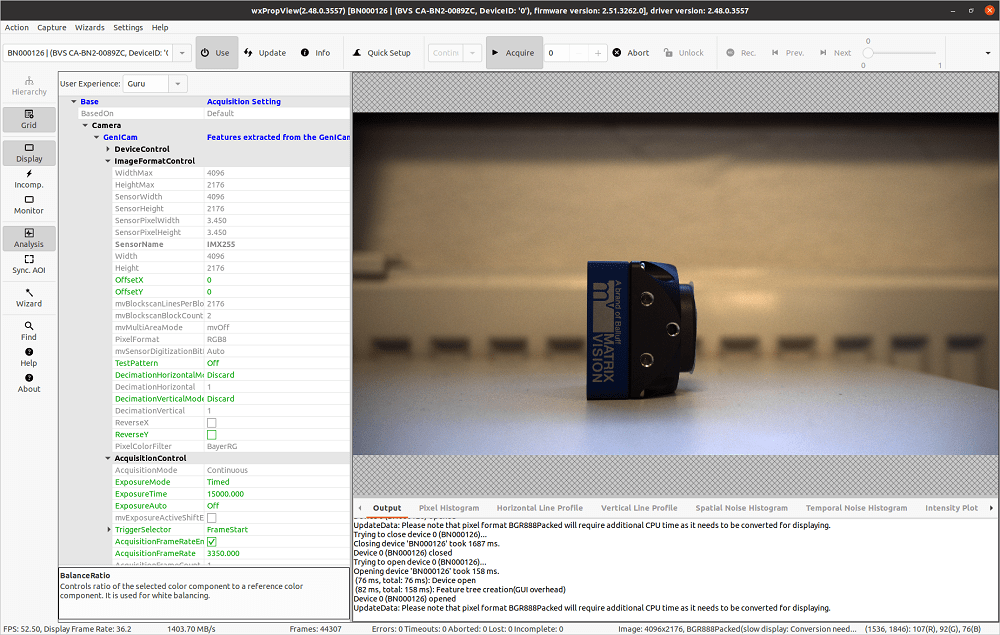
- When de-Bayering is carried out on the camera: The camera delivers RGB8 image data to the host system. This setting results in a lower CPU load but a lower frame rate.
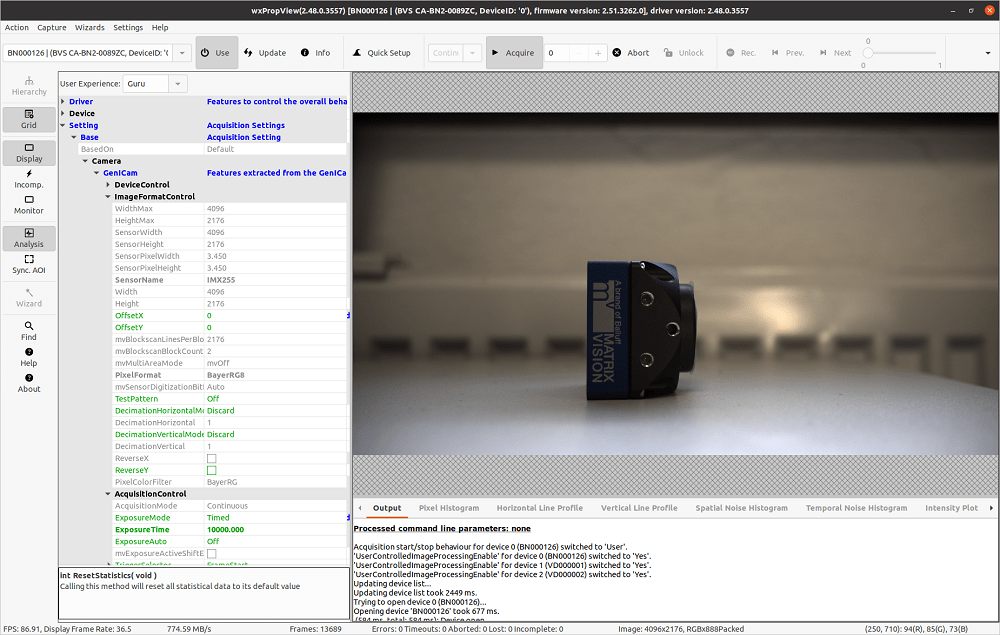
- When de-Bayering is carried out on the host system: The camera delivers Bayer8 image data to the host system. The Bayer8 image data then get de-Bayered to RGB8 format on the host system. This setting results in a higher frame rate but a higher CPU load as well.
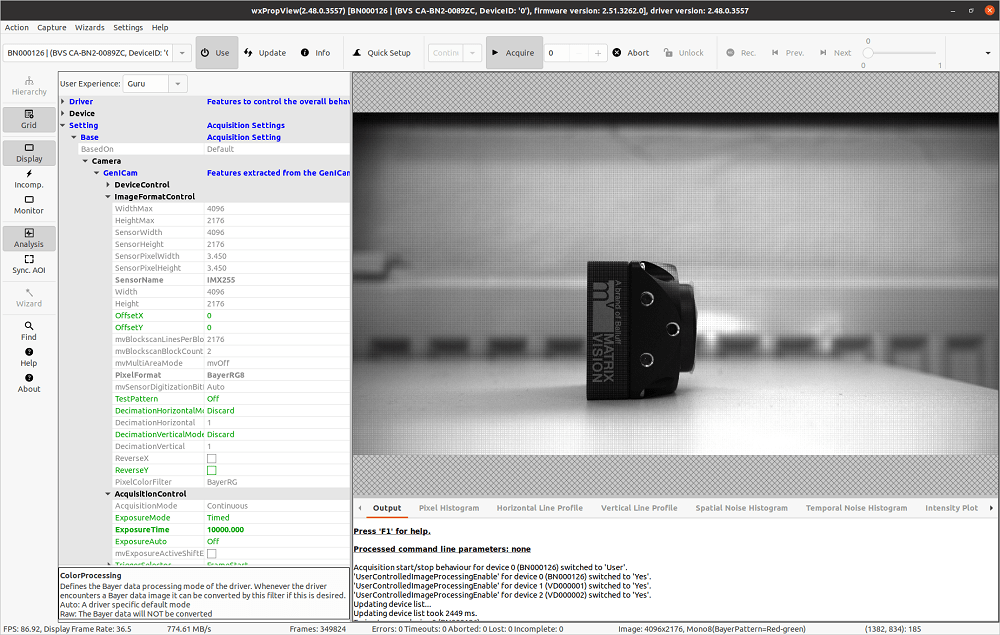
- When no de-Bayering is performed: The camera delivers Bayer8 image data to the host system. No de-Bayering is performed. This settings results in a lower CPU load and a higher frame rate. The behavior is identical to monochrome cameras.
| Camera | Resolution | Pixel Format | Frame Rate [Frames/s] | Bandwidth [MB/s] | CPU Load With Image Display | CPU Load Without Image Display |
| CA-BN2-0089ZC | 4096 x 2176 | RGB8 (on camera) → RGB8 (on host) | 52.50 | 1403.70 | ~13% | ~2% |
  | ||||||
| Camera | Resolution | Pixel Format | Frame Rate [Frames/s] | Bandwidth [MB/s] | CPU Load With Image Display | CPU Load Without Image Display |
| CA-BN2-0089ZC | 4096 x 2176 | BayerRG8 (on camera) → RGB8 (on host) | 86.91 | 774.59 | ~37% | ~25% |
  | ||||||
| Camera | Resolution | Pixel Format | Frame Rate [Frames/s] | Bandwidth [MB/s] | CPU Load With Image Display | CPU Load Without Image Display |
| CA-BN2-0089ZC | 4096 x 2176 | BayerRG8 (on camera) → BayerRG8/Raw (on host) | 86.92 | 774.61 | ~13% | ~1% |
  | ||||||
 | ||||||


