Working With The Serial Interface (mv Serial Interface Control)
Introduction
As mentioned in GenICam And Advanced Features section of this manual, the mv Serial Interface Control is a feature which allows an easy integration of motor lenses or other peripherals based on RS232.
- Available message buffer size: 128 Bytes
- Note
- Use the Power GND for the RS232 signal.
Setting up the device
Follow these steps to prepare the camera for the communication via RS232:

- Start ImpactControlCenter
- Connect to the camera
-
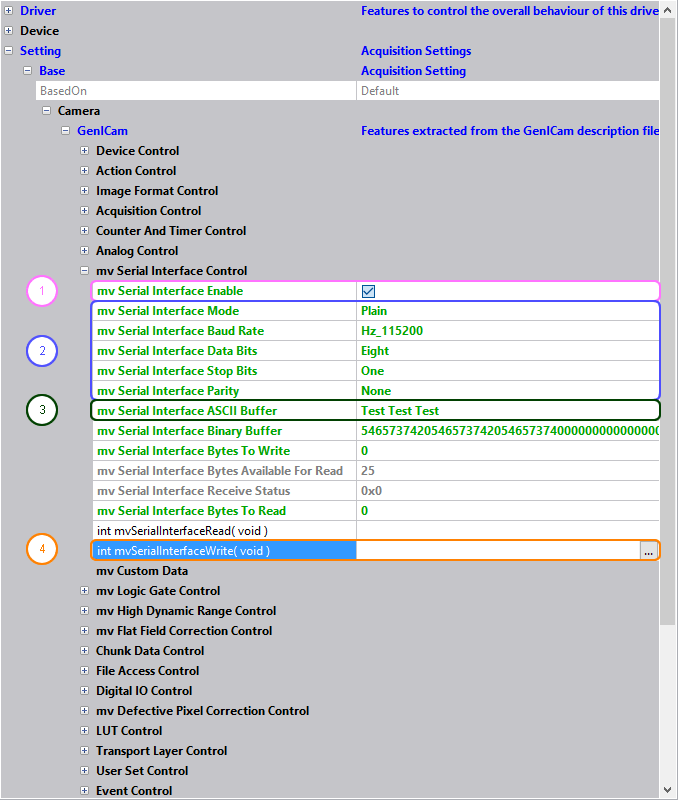
Under "Setting → Base → Camera → GenICam → mv Serial Interface Control" activate the serial interface by enabling
"mv Serial Interface Enable" (1).
Afterwards "mv Serial Interface Control" is available. - Set up the connection settings to your needs (2).
- To test the settings you can send a test message (3).
- Send messages by executing the function "int mvSerialInterfaceWrite( void )" by either clicking on the 3 dots next to the function name or by right-clicking on the command and then selecting Execute from the context menu.(4)
- Note
- Please enter a hexadecimal value in mvSerialInterfaceBinaryBuffer.
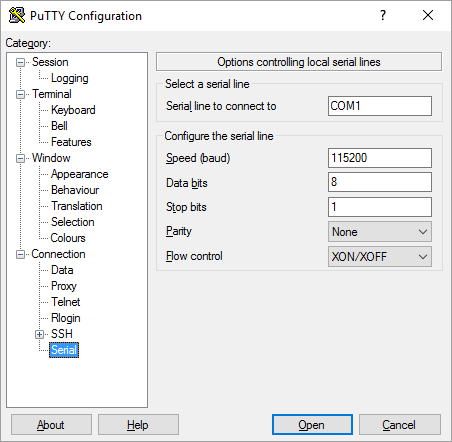
If you are listening to the RS232 serial line using a tool like PuTTY with matching settings...

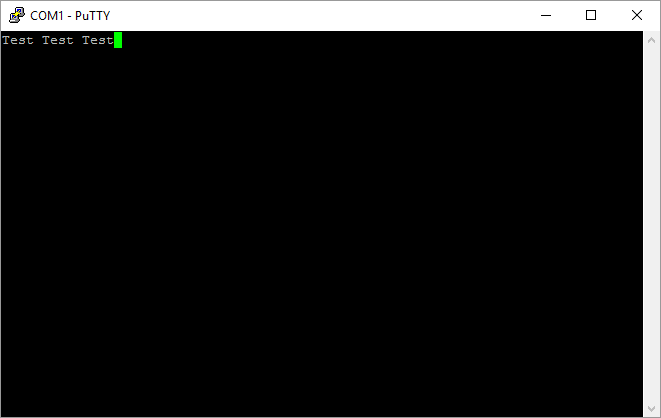
you will see the test message:

Programming the serial interface
#include <mvIMPACT_CPP/mvIMPACT_acquire_GenICam.h>

  // more code
  GenICam::mvSerialInterfaceControl sic( pDev );
  sic.mvSerialInterfaceBaudRate.writeS( "Hz_115200" );
  sic.mvSerialInterfaceASCIIBuffer.writeS( "Test Test Test" );
  sic.mvSerialInterfaceWrite();
  // more code
