Loading...
Searching...
No Matches
Using VLC Media Player
With the DirectShow Interface Impact Acquire compliant devices become video capture devices for the VLC Media Player.
System Requirements
It is necessary that the following packages are installed on the host device (laptop or PC):
- A suitable version of Windows®
- up-to-date VLC Media Player (here: version 2.0.6)
- up-to-date Impact Acquire installation (here: version 2.5.6)
- Note
- Using Windows® 10 or Windows® 7: VLC Media Player with versions 2.2.0 have been tested successfully with older versions of Impact Acquire. Since version 3.0.0 of VLC Impact Acquire will be needed to work with devices through the DirectShow interface!
Installing VLC Media Player
- Download a suitable version of the VLC Media Player from the VLC Media Player website mentioned below.
- Run the setup.
- Follow the installation process and use the default settings.
A restart of the system is not required.
- See also
- http://www.videolan.org/
Setting Up A Device For DirectShow
For using devices, DirectShow needs a public adapter that must be registered with the operating system. As described in Registering Devices , this can be done with the help of DeviceConfigure .
- Note
- If running a 64-bit DirectShow application, make sure to use a 64-bit version of DirectShow_Acquire, which can only be installed with a 64-bit version of DeviceConfigure . (And respectively for a 32-bit version)
- Connect the device to the host.
- Power the camera using a power supply at the power connector.
- Wait until the status LED turns blue.
- Open the tool DeviceConfigure ,
- set a friendly name ,
- and register the device for DirectShow .
- Note
- In some cases it could be necessary to repeat step 5.
Working With VLC Media Player
- Start VLC Media Player.
-
Click on "Media → Open Capture Device..." .
Figure 2: Open Capture Device...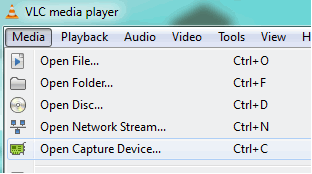
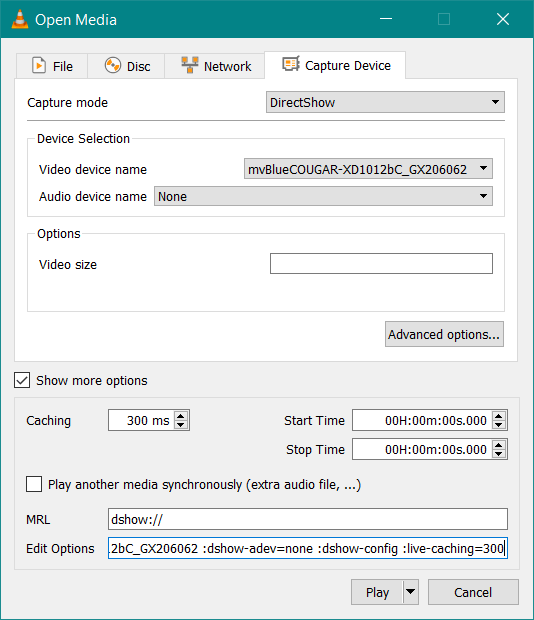
- Select the tab "Device Selection" .
-
In the section "Video device name" , select the friendly name of the device: Figure 3: Video device name

-
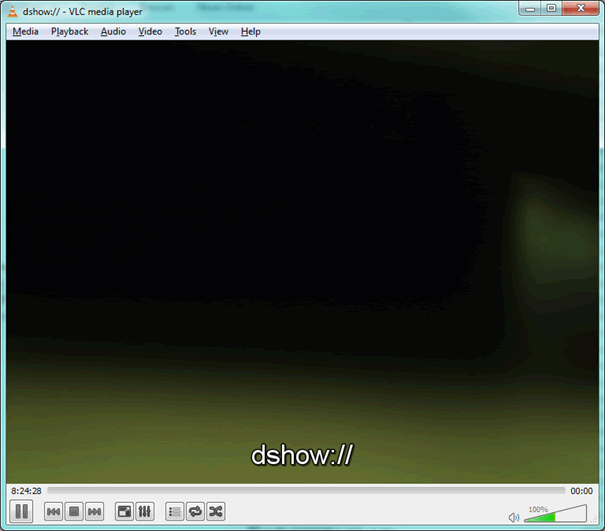
Finally, click on "Play" .
After a short delay you will see the live image of the camera.
Changing Camera Properties
When selecting a DirectShow_Acquire camera as a DirectShow capture device (in the "Open Capture Device" dialog), there are two possibilities to display the camera property dialog:
A. Click the checkbox "Show more options" and append " :dshow-config" to the options in the bottom edit box:
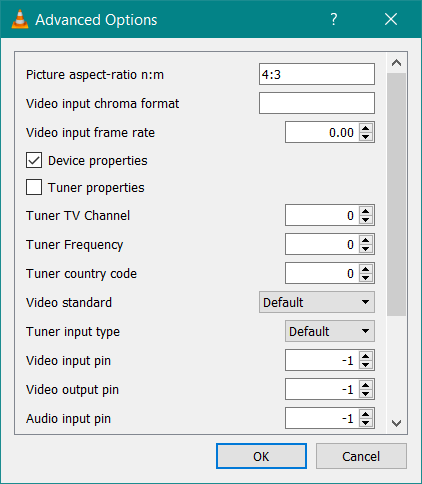
B. Alternatively, press the button "Advanced options" and, in the window that is going to be displayed, click the checkbox "Device properties" followed by pressing "OK". This fills in all the relevant settings of the dialog into the edit box in the "Open Media : Capture Device" dialog from solution A above.
After selecting the activity to invoke (Play/Stream/Enqueue/Convert), the DirectShow_Acquire property dialog will open.
- Note
- Most properties in this dialog control the camera directly, so they stay the same as long as the camera is not reset. Properties that control streaming (like the ImageDestination::PixelFormat) are set by the VLC Media Player each time the capture device is started.
After pressing "OK", the selected activity will start.
- See also
- If there are wrong colors in the resulting images, refer to Wrong Colors in the VLC Media Player .
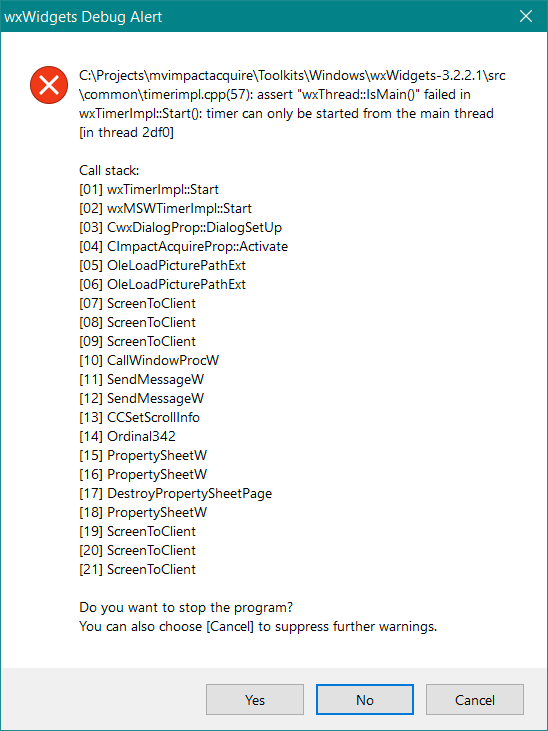
Possibly there will be an error box like the one shown below, but you can safely ignore it by pressing "No" or "Cancel".