|
Balluff - BVS CA-MLC / BVS CA-IGC Technical Documentation
|
Purpose of this chapter is to optimize the color image of a camera, so that it looks as natural as possible on different displays and for human vision.
This implies some linear and nonlinear operations (e.g. display color space or Gamma viewing LUT) which are normally not necessary or recommended for machine vision algorithms. A standard monitor offers, for example, several display modes like sRGB, "Adobe RGB", etc., which reproduce the very same color of a camera color differently.
It should also be noted that users can choose for either
Camera based settings are advantageous to achieve highest calculating precision, independent of the transmission bit depth, lowest latency, because all calculations are performed in FPGA on the fly and low CPU load, because the host is not invoked with these tasks. These camera based settings are
Host based settings save transmission bandwidth at the expense of accuracy or latency and CPU load. Especially performing gain, offset, and white balance in the camera while outputting RAW data to the host can be recommended.
Of course host based settings can be used with all families of cameras (e.g. also mvBlueFOX).
Host based settings are:
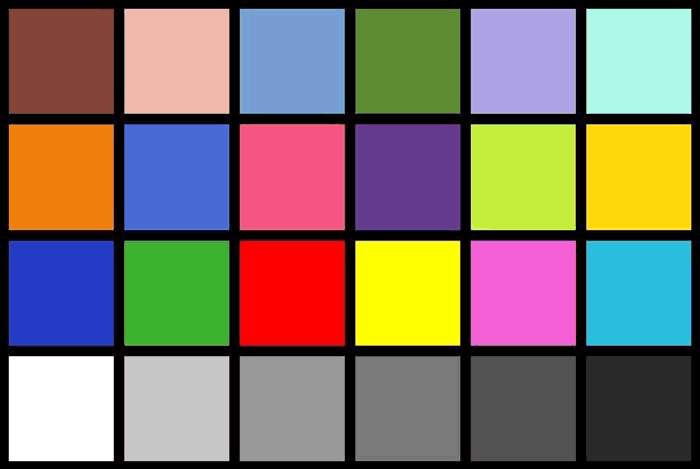
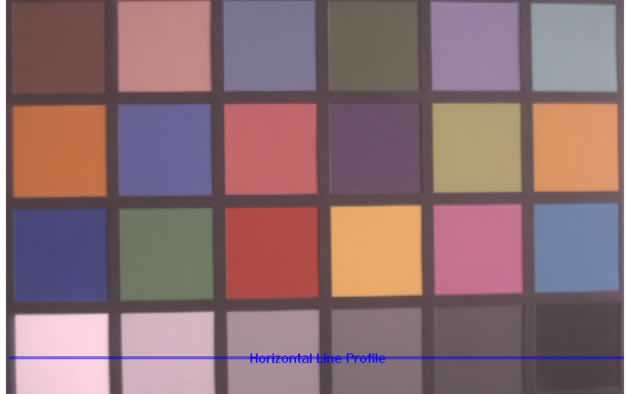
To show the different color behaviors, we take a color chart as a starting point:
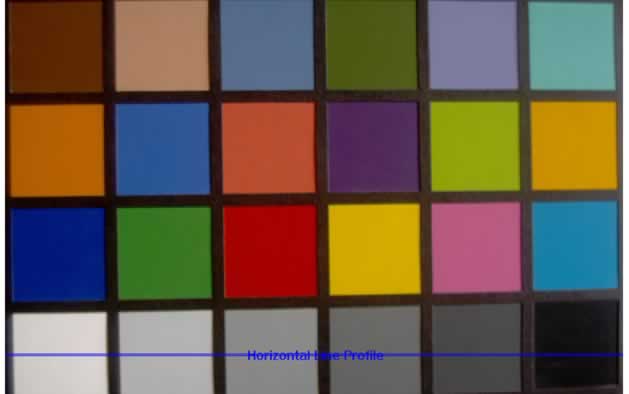
If we take a SingleFrame image without any color optimizations, an image can be like this:
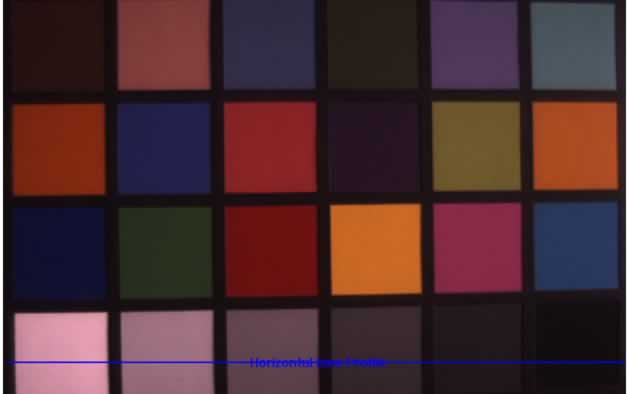
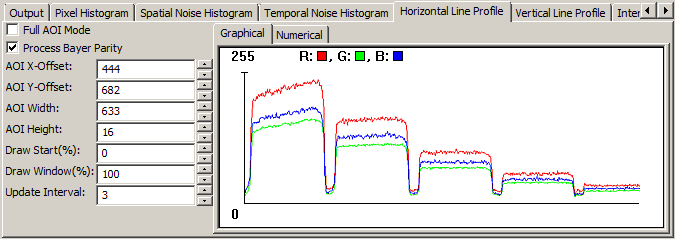
As you can see,
The following figure shows the way to a perfect colored image
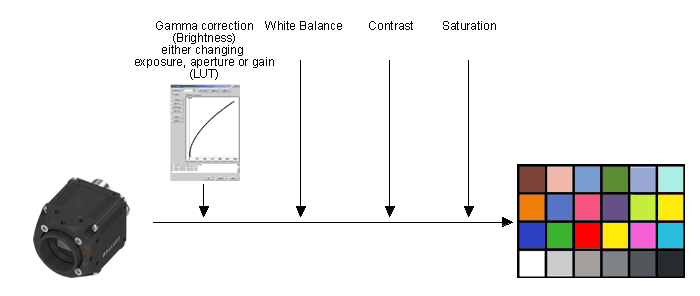
including these process steps:
The following sections will describe the single steps in detail.
First of all, a Gamma correction can be performed to change the image in a way how humans perceive light and color.
For this, you can change either
You can change the gain via ImpactControlCenter like the following way:
Click on "Setting → Base → Camera". There you can find
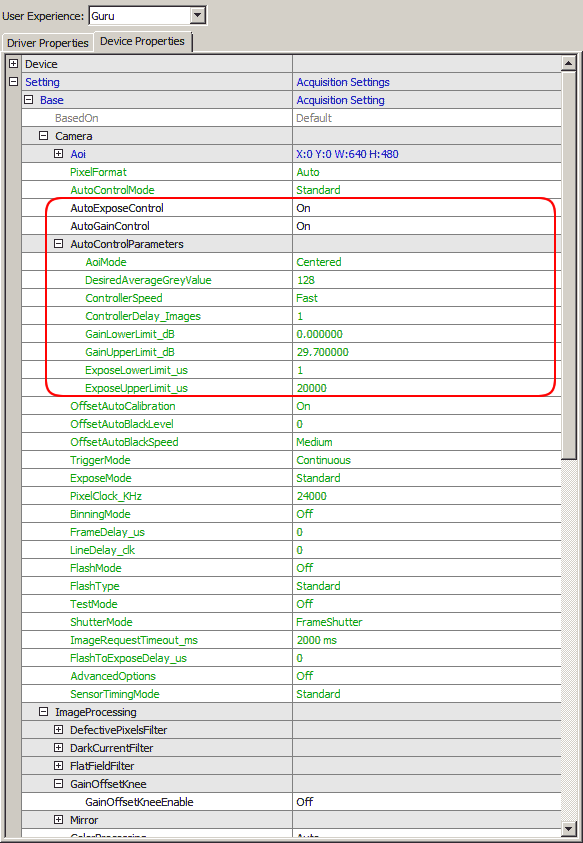
You can turn them "On" or "Off". Using the auto controls you can set limits of the auto control; without you can set the exact value.
After gamma correction, the image will look like this:
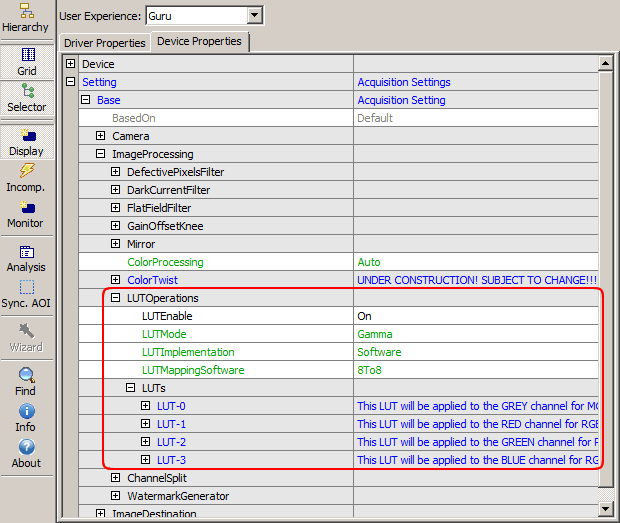
Just set "LUTEnable" to "On" and adapt the single LUTs like (LUT-0, LUT-1, etc.).
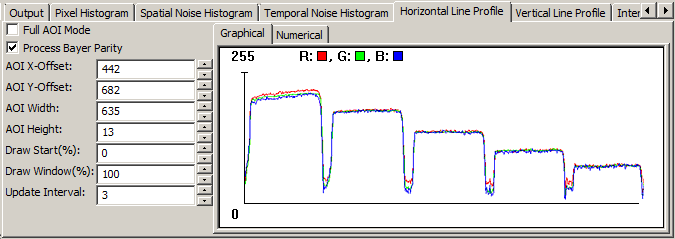
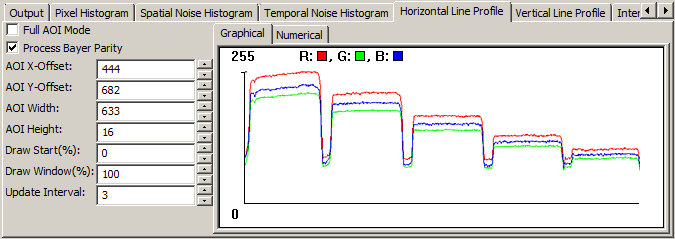
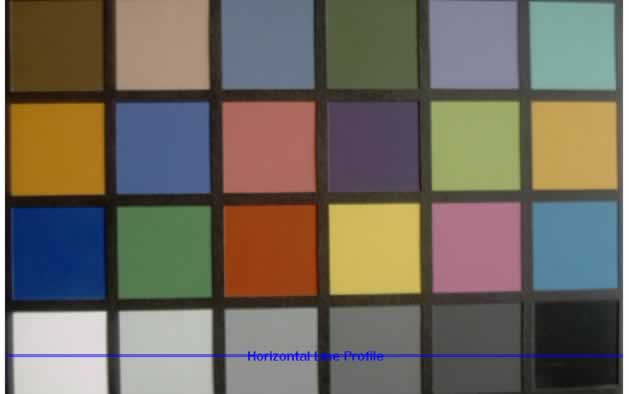
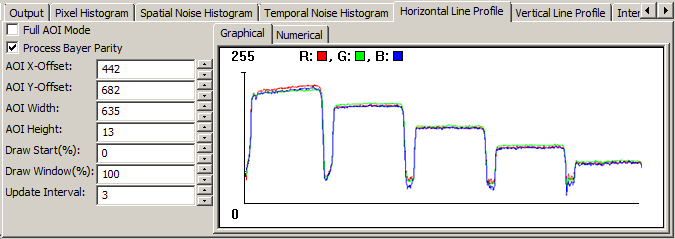
As you can see in the histogram, the colors red and blue are below green. Using green as a reference, we can optimize the white balance via "Setting → Base → ImageProcessing" ("WhiteBalanceCalibration"):
Please have a look at "White Balancing A Color Camera" in the "Impact Acquire SDK GUI Applications" manual for more information for an automatic white balance with ImpactControlCenter.
To adapt the single colors you can use the "WhiteBalanceSettings-1".
After optimizing white balance, the image will look like this:
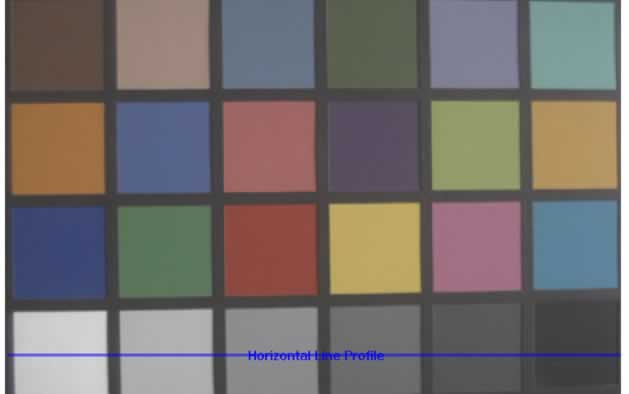
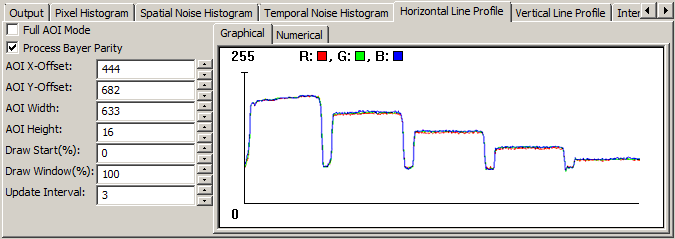
Still, black is more a darker gray. To optimize the contrast you can use "Setting → Base → ImageProcessing → LUTControl" as shown in Figure 8.
The image will look like this now:
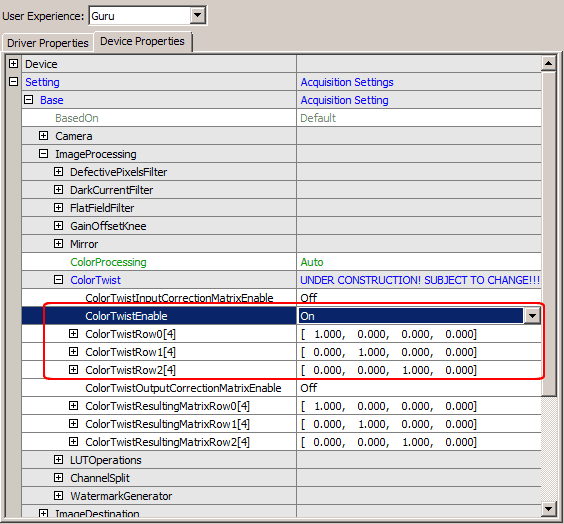
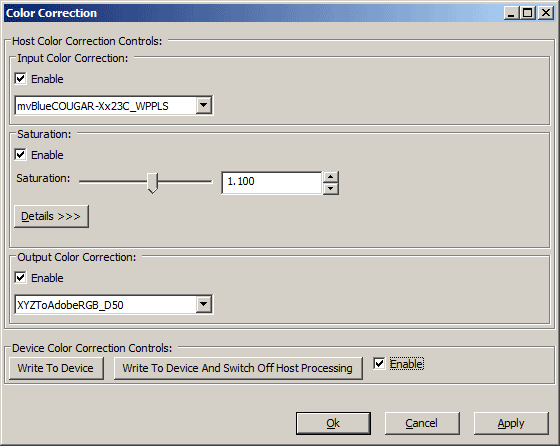
Still saturation is missing. To change this, the "Color Transformation Control" can be used ("Setting → Base → ImageProcessing → ColorTwist"):
After the saturation, the image will look like this:
